Zero-Friction Gasless P2P Transfer
In the last few tutorials, we tried powerful Metakeep APIs to deploy NFT smart contracts, mint tokens, get list of NFTs. However, P2P NFT transfer works differently and leverages the MetaKeep SDK to transfer tokens from one user to another. In this tutorial, we will look into how to integrate the Metakeep SDK and enable P2P gasless transfers.
User wallets are non-custodialOnly the wallet owner can perform operations on the wallet. MetaKeep and developers can't touch user wallets.
You can find the end-to-end working demo here.
Generate Consent Token
Consent token generation happens in the backend.Consent token generation requires your API key. Never expose your secrets/keys to the public.
When a P2P transfer is requested on behalf of a user, you get back a Consent Token- looks like a base64 string. This needs to be signed by the user before the transfer can happen. The token also gives MetaKeep the approval to pay for the transaction gas fees and bill you(the developer) later.
Users don't pay gas fee.MetaKeep provides zero-friction gasless transfers for your users.
Behind the scenes, Consent Token is a cryptographic challenge generated directly by MetaKeep's hardware root of trust, based on non-custodial Private Key Management (ncPKM) infra which can be satisfied exclusively by the cryptographic proof of identity of the end-user.
Step 1: Create a request with the following Parameters
{
    “nft”:{
        “Collection” : <Collection_Address>
    }
    “token”: <Token Id>,
    “from”: { “email” : < Email of the NFT token owner> },
    “to” : { “email” : <Email of the receiver> }
}
Step 2: Make a Post Request to the nft/transfer API
nft/transfer APIconst options = {
method: 'POST',
headers: {
accept: 'application/json',
'content-type': 'application/json'
},
body: JSON.stringify({
“nft”:{
“collection” : <Collection_Address>
}
“token”: <Token Id>,
“from”: { “email” : < Email of the NFT token owner> },
“to” : { “email” : <Email of the receiver> }
});
};
fetch('https://api.metakeep.xyz/v2/app/nft/transfer', options)
.then(response => response.json())
.then(response => console.log(response))
.catch(err => console.error(err));On successful request, you will get a Consent Token in the response.
{
   "status": "USER_CONSENT_NEEDED",
   "consentToken": "CrgBAQIDAHjkSP_5liFU1kRiwcsjaYhL70lMH28zlSAGMUGu-qcyhwFlzokiZCBBJXIGos8D3l02AAAAfjB8BgkqhkiG9w0BBwagbzBtAgEAMGgGCSqGSIb3DQEHATAeBglghkgBZQMEAS4wEQQMFqkScqTlO68uvf6-AgEQgDvbTbd4sVsiGC9kpvrQcvRdl0LMFiVmg0K0eHZnlYm1M1mMyOV4X99ONhwBF3DHbtEcHs_Hfpg9AtHdExK1AgoM6uVs1U4BA3NKsVb5EqQCOPEYB6rgp_v5U-K71Rm7g1bbPhLKchRonB2teGsr7mi3tsENX0pm4fRn8al8EbeHmiSQCtvK-qAFr6SMYHW9wkc3_HBmrYYz6NbZpmie8xn3UllEy7YyWHEh7nRCajXKF79j3k-DOsdoWUe58ML_blzpicwcsNB358A7pIe6-hBn4XNL5wll_UXJEQBmDAPLp650CXmINwJWawWnQo3Jj4neTtNzXepLIWmJXRX1oW-hMyYq6Ng5oWxdkuCTqRnhRTxD5esADlbzArq8RZkM4lcPX2uNhcxAvMVS9sEhTVeFHTsuXKS-b1y-e7g5FKfe-5_lDdN-tX76LttLBWAbp05HFv5cXsAMDvI4y7_zVDQ0zDmKu4InZ_zgfJuwTh5faX98Sg=="
}
Step 3: Get user approval
Once you have the consent token, use the SDK to get the user's approval for NFT transfer.
const consent = await sdk.getConsent(consentToken);Running the Demo Application
You can find the end-to-end working demo here. Follow these steps to get the demo running:
Step 1: Prerequisite
Before proceeding, you need to finish the first part of the tutorial Create your First NFT collection and Mint Tokens. Once you have the collection address and token ID, store it somewhere because we would need that later.
Step 2: Update .env file
Update the .env file with the API key and collection address you got in the first step.
Step 3: Start backend server
Navigate to the ntfs/backend directory. Then, start the server
npm install
npm run start
This will start the server at port number 3001. This server will generate a consent token for nft transfer.
Step 4: Transfer on the webpage
To test on the mobile app, skip to Step 5 below.
1: Start frontend
Open a new terminal window and navigate to the nfts/frontend directory and run the following command.
npm install
npm run start
This will open the demo application in your browser.

NFT transfer demo application
Enter your email and tap the List NFT button. This will show all NFTs owned by the user.

List of NFTs
Enter the email of the user to whom you want to transfer in the to field and tap the Transfer button. This will pop up the user approval UI.

User approval UI from MetaKeep SDK
2: Approve the transfer
For verification, MetaKeep will send an OTP to the email of the user that owns the NFT. Copy the OTP and paste it into the approval UI.

User verification UI.
Once the verification succeeds, MetaKeep will queue a new transaction to the blockchain for NFT transfer.

NFT transfer queued.
After you close the window, you can view the transaction details as shown below.

Transaction details.
MetaKeep, behind the scenes, employs several strategies to make sure transactions succeed, and at the lowest cost. You can also use Transaction Status API to check transaction status.
Step 5: Transfer on the mobile app
1: Update the app_id
app_idYou can find the app_id in the MetaKeep developer console. Update the app_id to customize the appearence by following the steps below:
- For android, update the app_id in the gradle file and the SDK initialization code.
- For iOS, update the app_id in the SDK initialization code.
2: Run the mobile app
Run the android app in nfts/mobile/android directory using Android Studio or run the iOS app in nfts/mobile/ios directory using Xcode.
This will start the mobile app in the Android/iOS emulator.
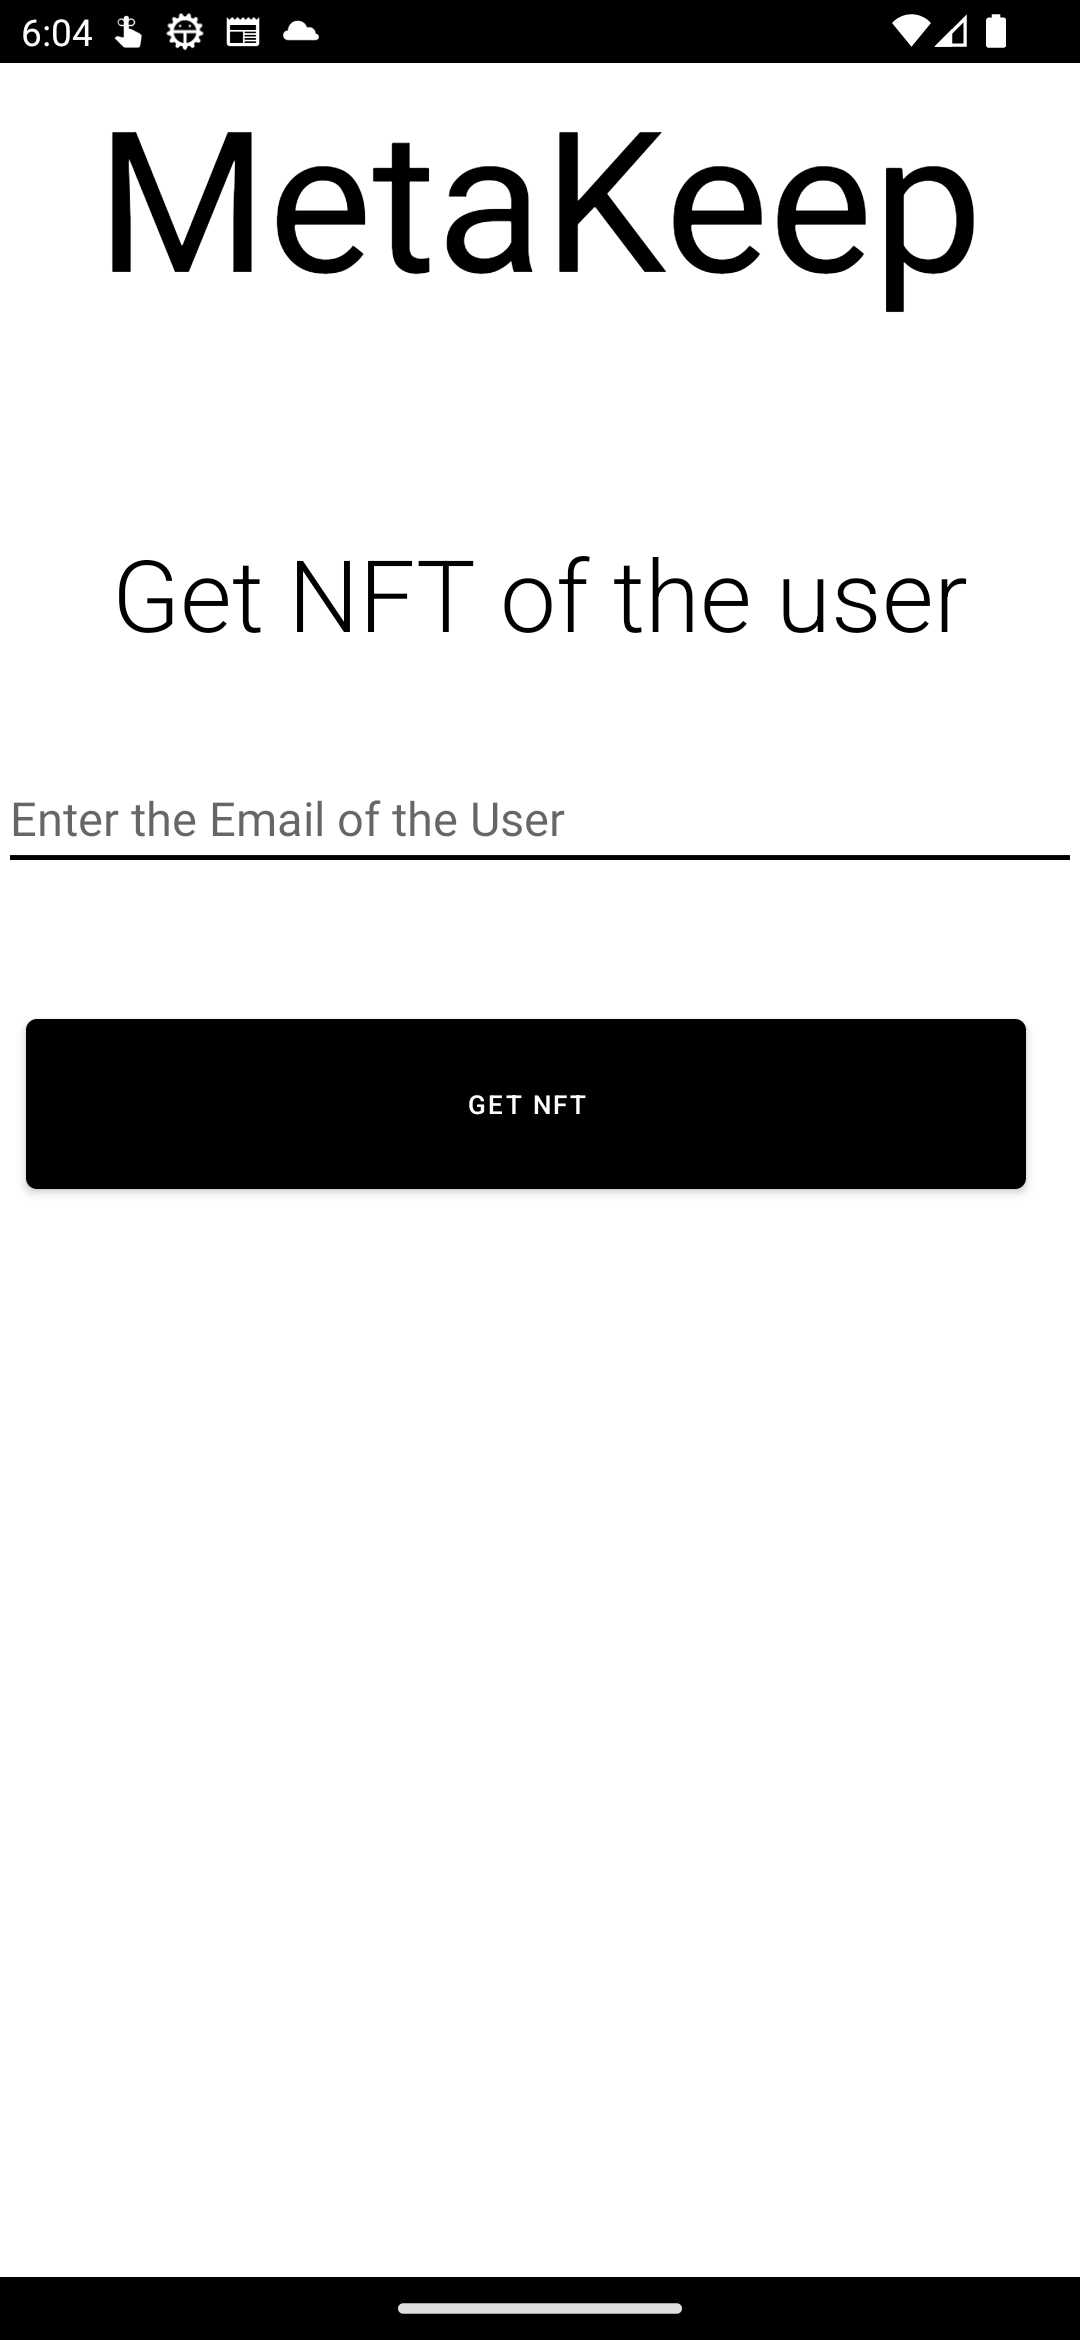
Enter your email and tap the Get NFTs button. This will show all NFTs owned by the user.
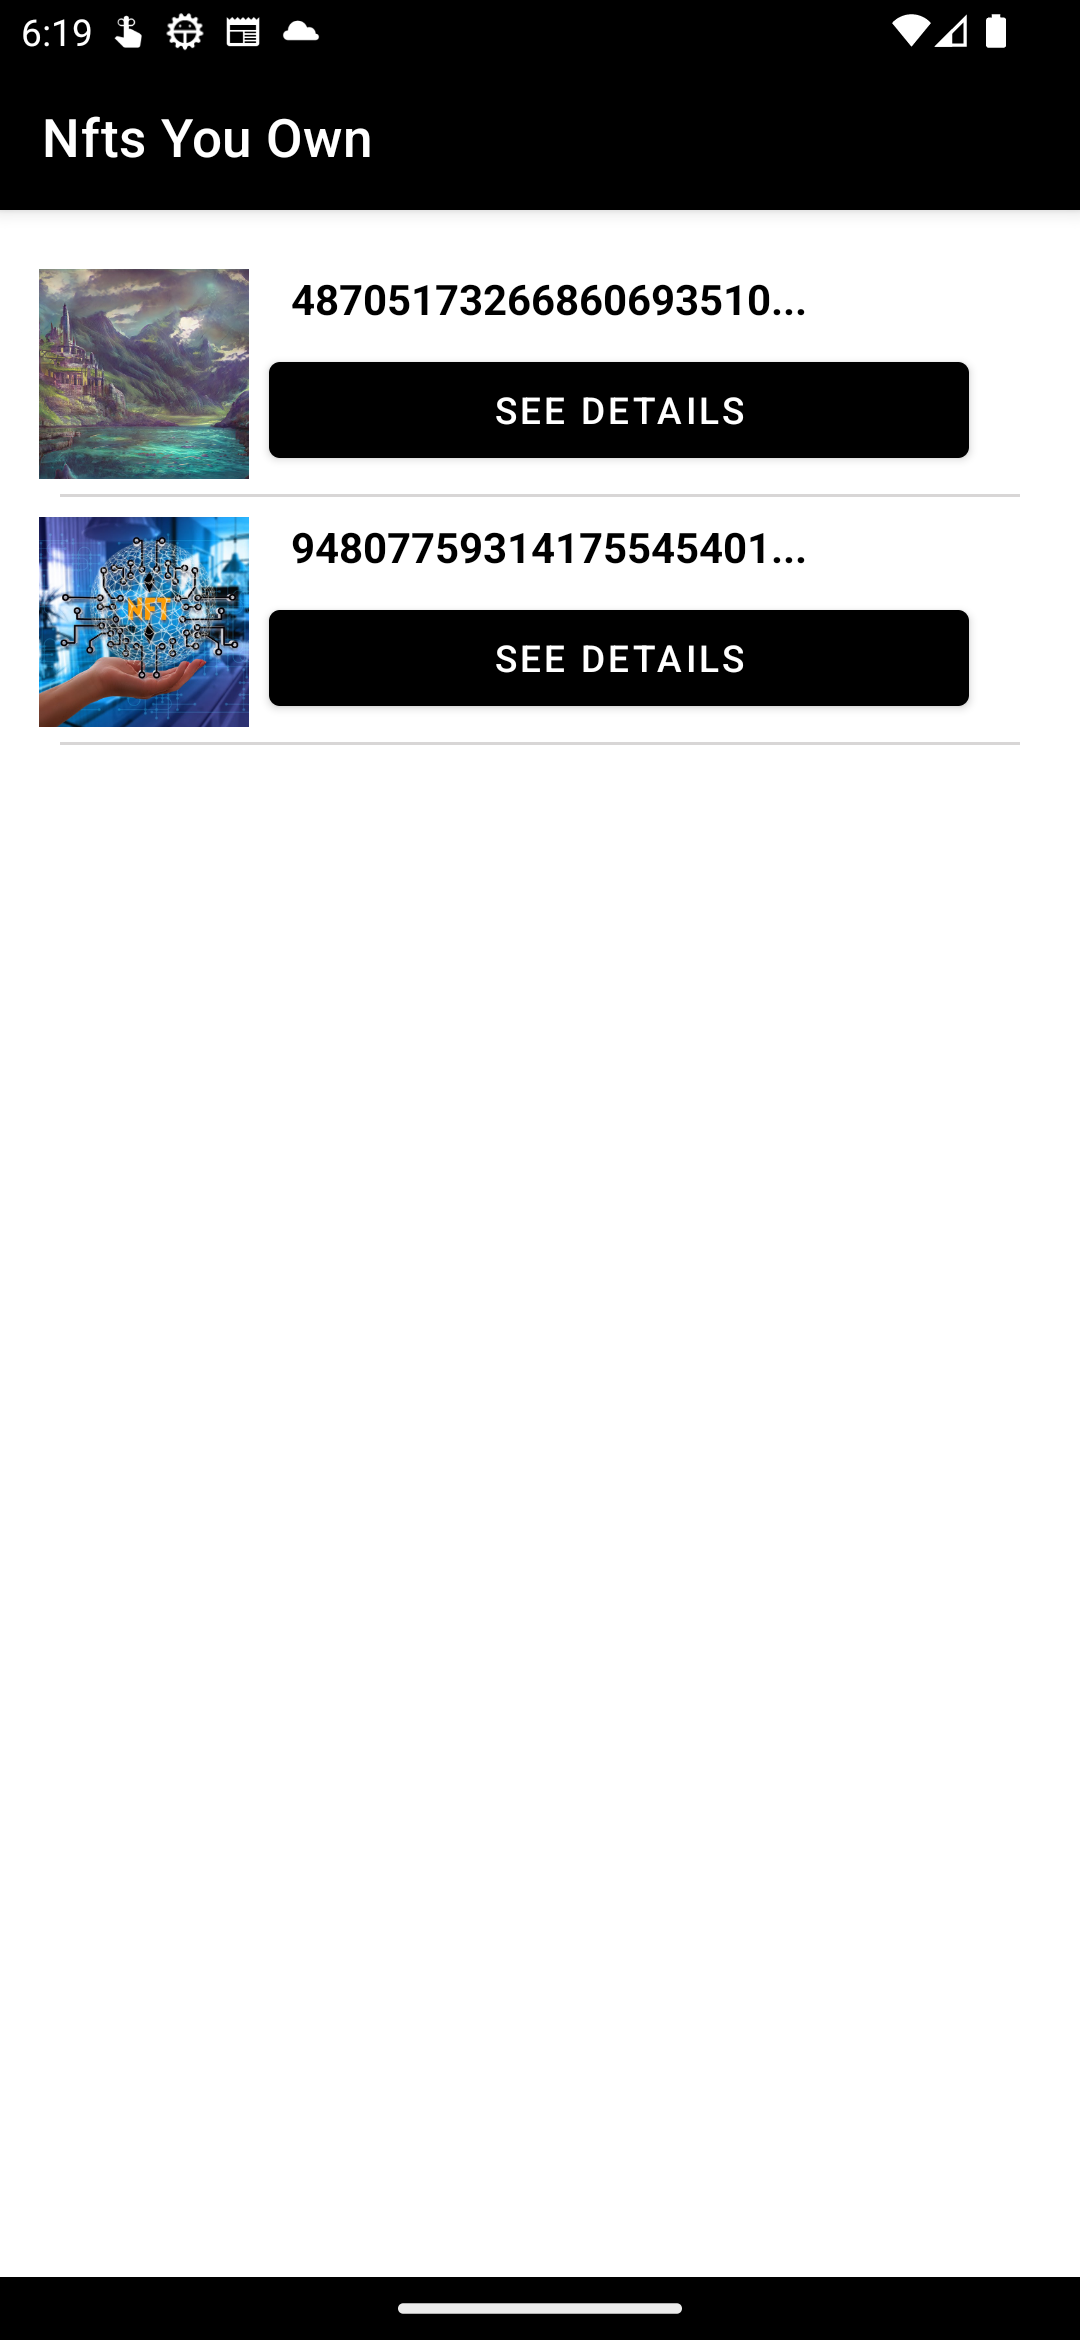
Tap the Details button, enter the email of the user to whom you want to transfer in the to the field, and tap the Transfer button. This will pop up the user approval UI.
3: Approve the transfer
For verification, MetaKeep will send an OTP to the email of the user that owns the NFT. Copy the OTP and paste it into the approval UI.
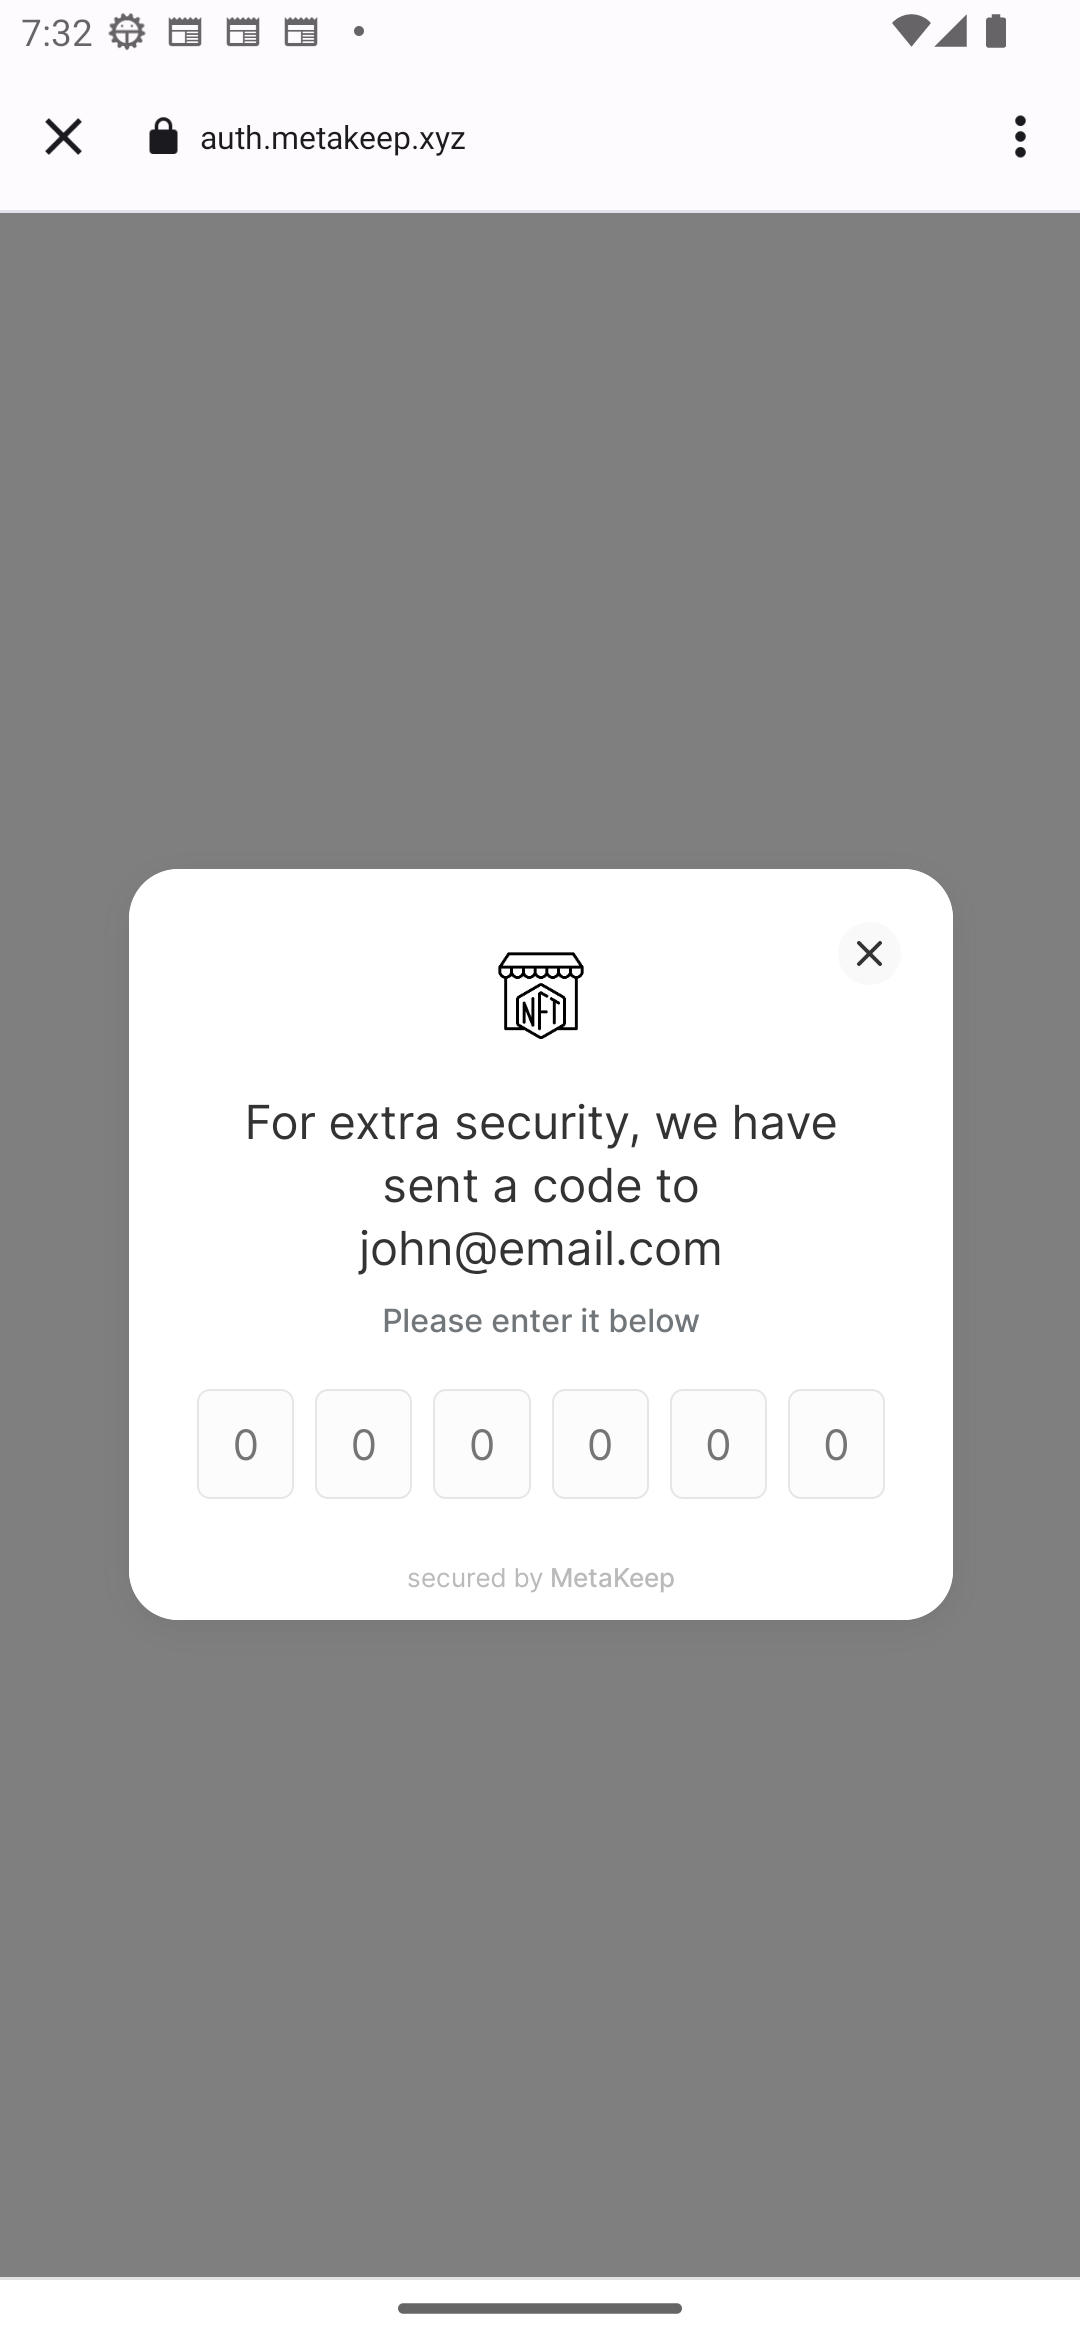
Once the verification succeeds, MetaKeep will queue a new transaction to the blockchain for NFT transfer.
MetaKeep, behind the scenes, employs several strategies to make sure transactions succeed, and at the lowest cost. You can also use Transaction Status API to check transaction status.
Next Steps
Congratulations🎉🎉🎉🎉!!! You have enabled zero-friction and gasless NFT transfers for your users.
Updated about 1 year ago