Get NFTs owned by users
In the last few tutorials, we tried powerful Metakeep APIs to deploy NFT smart contracts and mint tokens.
After you mint an NFT to the user, the NFT is owned by the user. In this tutorial, we will look at how to get the list of NFTs owned by the user in a particular collection. This will allow you to build out your customized NFT marketplace, build NFT renting, NFT gating, and a lot more.
Minted NFTs are owned exclusively by the user, and in their direct custody 🙌
You can find the end-to-end working demo here.
How to get NFTs owned by a user?
Step 1: Create a request with the following parameters
{
  "nft" : {
    "collections" : [<Array of NFT collections of which you want to fetch tokens>]
  },
   "of" : {
     "email" : <Email of User to get the tokens for>
   }
}
Step 2: Make a Post Request to nft/listTokens API
nft/listTokens APIconst options = {
method: "POST",
headers: {
accept: "application/json",
"content-type": "application/json",
},
body: JSON.stringify({
nft: {
collections: [<Array of NFT collections of which you want to fetch tokens>],
},
of: {
email: "email of the user",
},
}),
};
fetch("https://api.metakeep.xyz/v2/app/nft/listTokens", options)
.then((response) => response.json())
.then((response) => console.log(response))
.catch((err) => console.error(err));On successful request, you will get the list of tokens in the response
{
    "status": "SUCCESS",
    "tokens": [
        {
            "collection": "0x1d29bfa5783cb71d2891248c9ee1d8a85abcdc98",
            "token": "45552094486320985436725470726822461450993967743491637928866098557440840562478",
            "tokenMetadata": {
                "name": "MetaKeep Original 01",
                "image": "https://cdn.pixabay.com/photo/2022/02/19/17/59/nft-7023209_960_720.jpg",
                "description": "",
                "externalUrl": "",
                "animationUrl": "",
                "youtubeUrl": "",
                "backgroundColor": "",
                "attributes": []
            },
            "name": "",
            "symbol": ""
        },
        {
            "collection": "0x1d29bfa5783cb71d2891248c9ee1d8a85abcdc98",
            "token": "60696308906695920475894945750281416942130616644903177117363808480210124568076",
            "tokenMetadata": {
                "name": "MetaKeep Original 01",
                "image": "https://cdn.pixabay.com/photo/2022/02/19/17/59/nft-7023209_960_720.jpg",
                "description": "",
                "externalUrl": "",
                "animationUrl": "",
                "youtubeUrl": "",
                "backgroundColor": "",
                "attributes": []
            },
            "name": "",
            "symbol": ""
        }
    ],
    "totalCount": "2",
    "paginationToken": ""
}
Running the Demo Application
You can find the end-to-end working demo here. Follow these steps to get the demo running:
Step 1: Prerequisite
Before proceeding, you need to finish the first part of the tutorial Create your First NFT collection and Mint Tokens. Once you have the collection address and token ID, store it somewhere because we would need that later.
Step 2: Update .env file
Update the .env file with the API key and collection address you got in the first step.
Step 3: Start backend server
Navigate to the ntfs/backend directory. Then, start the server
npm install
npm run start
This will start the server at port number 3001. This server will fetch the list of NFTs.
Step 4: View NFTs on the webpage
To test on the mobile app, skip to Step 5 below.
1. Start frontend server
Open a new terminal window and navigate to the nfts/frontend directory and run the following command.
npm install
npm run start
This will open the demo application in your browser.

List NFT Demo
2. Enter the user's email and tap List NFT
List NFTYou will see the list of NFTs owned by the user along with the NFT name, description, image, and token id.

NFTs owned by the user
Step 5: View NFTs in the mobile app
1: Run the mobile app
Run the android app in nfts/mobile/android directory using Android Studio or run the iOS app in nfts/mobile/ios directory using Xcode.
This will start the mobile app in the Android/iOS emulator.
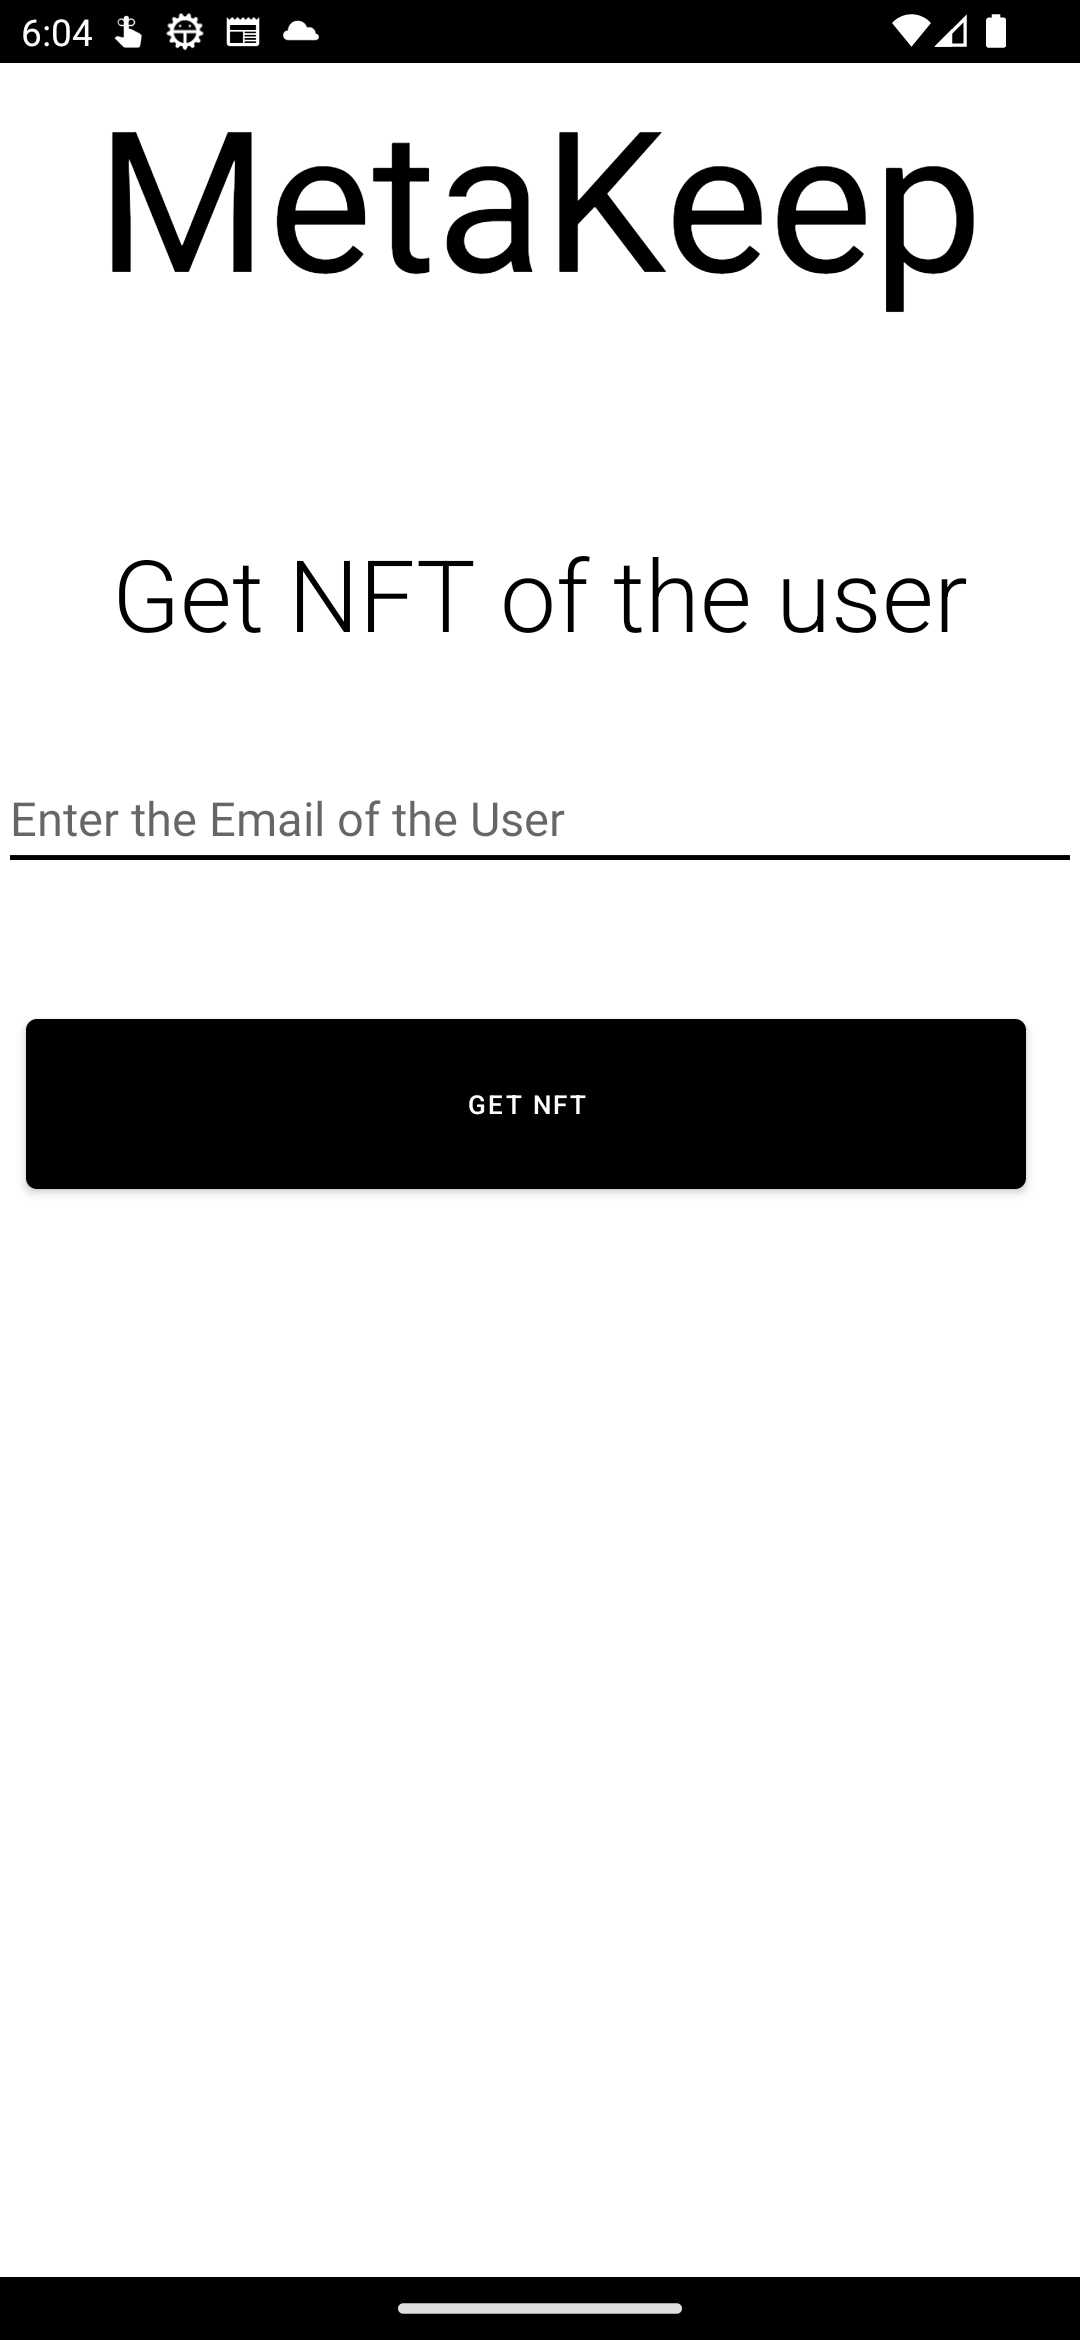
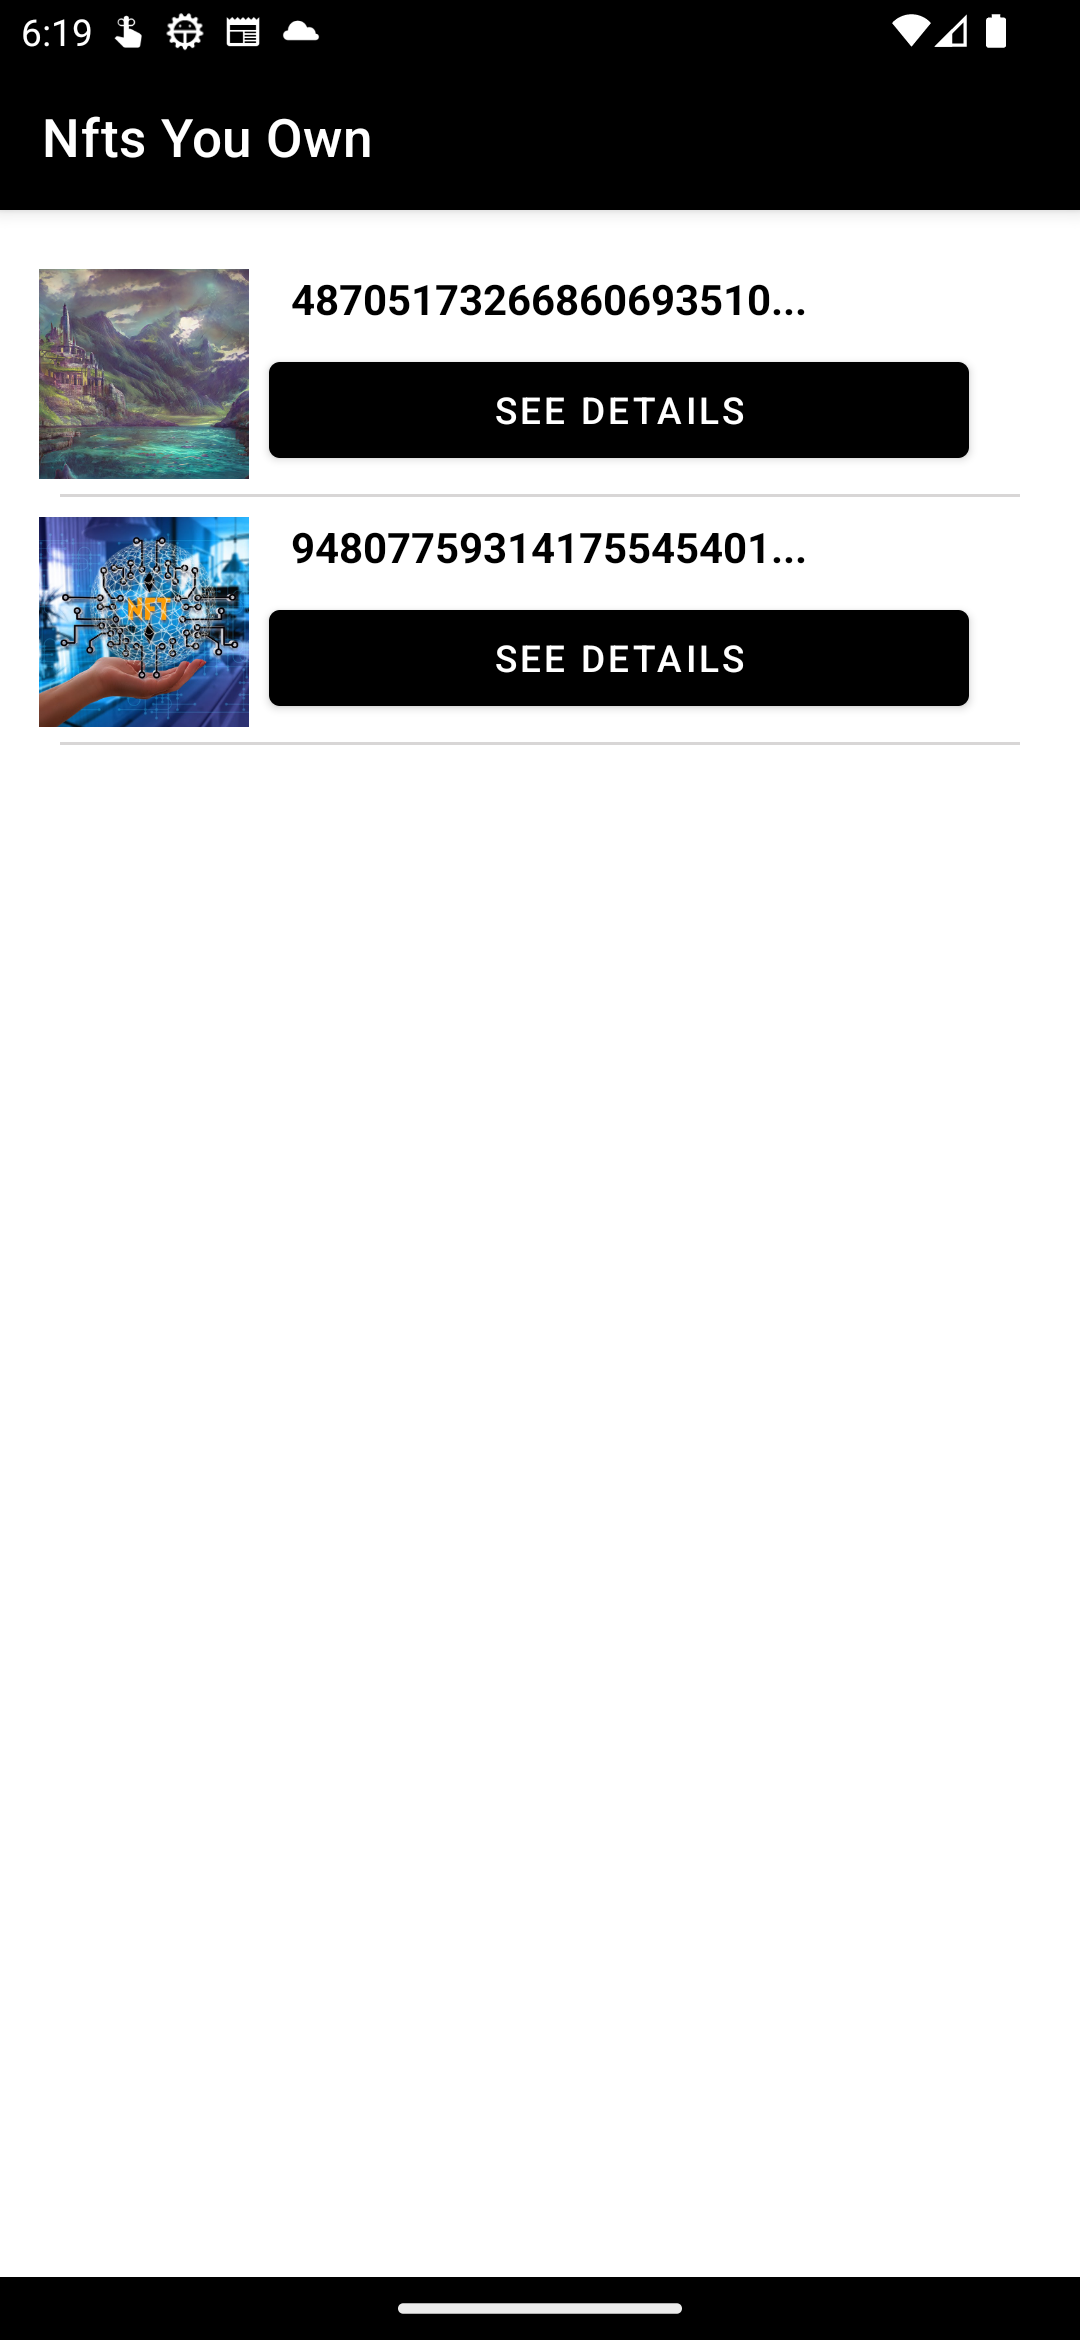
2: Enter the user's email and tap Get NFTs
Get NFTsYou will see the list of NFTs owned by the user.
Next Steps
Congratulations🎉🎉🎉🎉!!! You have successfully fetched the NFTs and shown them to the user.
In the following tutorials, we will discuss Gasless NFT P2P transfers.
Updated about 1 year ago